Buoyed (heh) by the lack of instant deflation on our first trip down the Bitterroot in our $12 Intex "Packrafts",
we decided to seek out some whitewater up the West Fork. The river was quite low but we found some stretches with lots of rocks and small waves (maybe rocky class II). We spent an afternoon up there yo-yo'ing a stretch of white water near one of the put-ins and a couple days later (after a few minor repairs) did a (car shuttled) 12+ mile day trip including lots of rocks, gravel bars and numerous snags.
Sitting backwards, the large "stern" helps to fight the wheelie effect.
It was an absolute blast and I'm sold on the sport of packrafting. I'll let the photos do most of the talking but the rafts performed admirably. They aren't the most durable things in the world but we are certainly getting our money out of them.
Jen found a nice chute between the rocks in this rapid also seen in the top photo of me. Stewart and I had to attempt it a couple of times before we could run it.
We sit backwards in the rafts. Sitting this way, the large tubes and duck-butt like stern made them stable. They aren't fast in the water but are fairly easy to maneuver with back ferrying as Roman Dial recommends in Packrafting! An Introduction and How-To Guide. The tubes could actually stand to be a bit smaller to allow for easier paddling and I'd consider buying the smaller Intex Explorer 100
next time.
Preparing to carry back to the top of the rapid, Stewart's yellow raft is an old life raft.
The rafts are admirably light and easy to carry thanks to the thin material. We were fully planing on ending up swimming but they kept us afloat with a few bits of Tyvek Tape. Eventually, a few miles into the third day the floors of both of our rafts succumbed to the numerous rocks (and one mandatory log) we'd slid over. The handling of the raft certainly decreased with the floor deflated. For the next trip I plan on using a sleeping pad inside of the now non-inflatable floor.
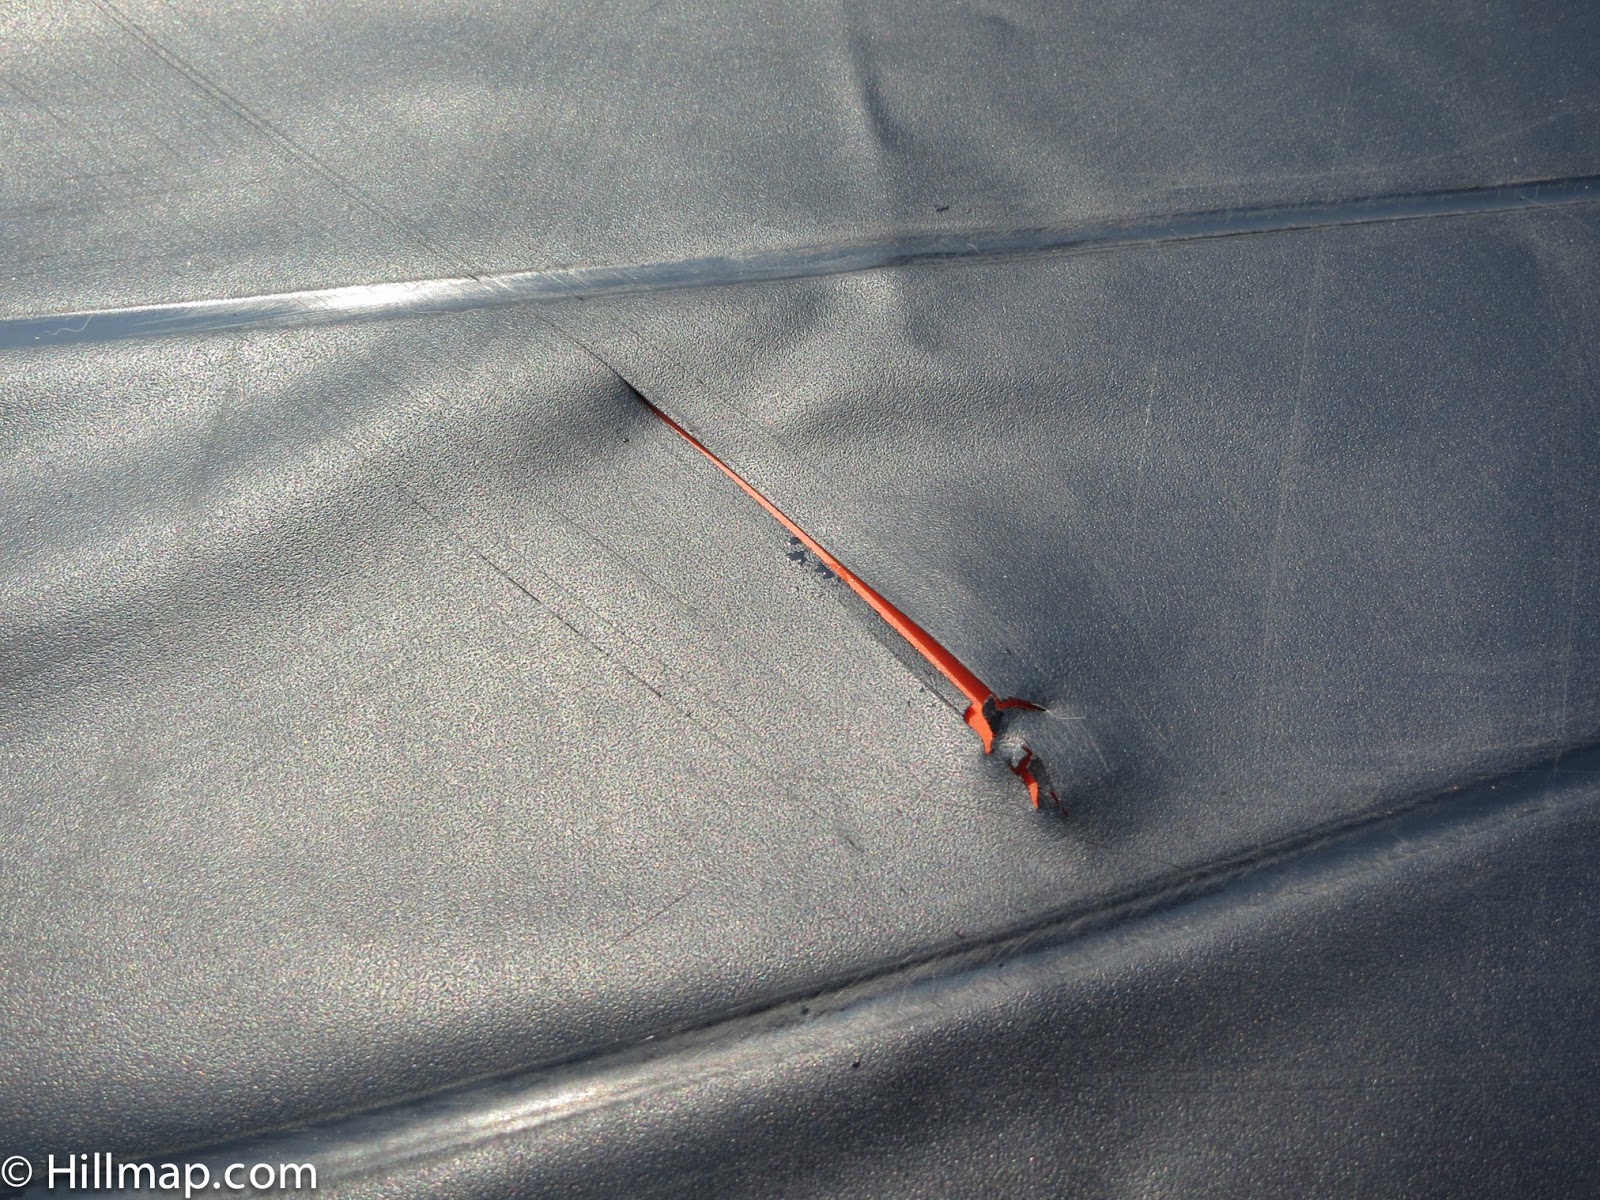
A gash in Jen's floor.
Tempering after repairs. The Tyvek tape held but the floor sprung more leaks.
Deflation is a pain but jamming a stick in the valve to hold it open helps.
Getting out on the river has renewed my interest in building a more durable cheap pack raft and I'm sure we'll get a few more trips out of them this summer.
Jen floats her $12 Intex Explorer 200 next to Stewarts 30 year old life raft.
I've been eyeing the stretch of the Bitterroot in near or our house for months. I run through Hamilton's river park many mornings before the heat of the day and dream of floating through the gravel bars and riffles.
Evidence of past attempts at rafting on the cheep?
With our friend and climbing partner Stewart coming into town and forecasts in the high 90's we decided that our need for a river sport had reached a head. Stewart has an old aviation life raft he uses for packrafting but my packraft project has stalled out trying to find suitable materials.
We decided we needed to put together a couple of river worthy kits on the choice. We acquired:
The fact that we spent about 5 times as much on PFDs, repair supplies and dry bags as on the rafts should indicate our confidence in these pool toys going into this endeavor. On the plus side they weigh under 5 pounds and pack small enough to fit in a day pack.
Raft, Paddle and Life Jacket in daypacks.
We actually brought a heavy pump on our first trip but Stewart soon convinced us that an inflator rigged from a garbage bag and a bit of tube was the better option. It is important to make sure that the tube protrudes into the bag a bit and is tapped or rubber banded on the inside. I found that the tube from a ball point pen was perfect and could be inserted far enough into the valve to move the one way flap aside and allow quicker inflation.
Stewarts garbage bag pump. Mine used a much shorter tube (the outside of a ballpoint pen).
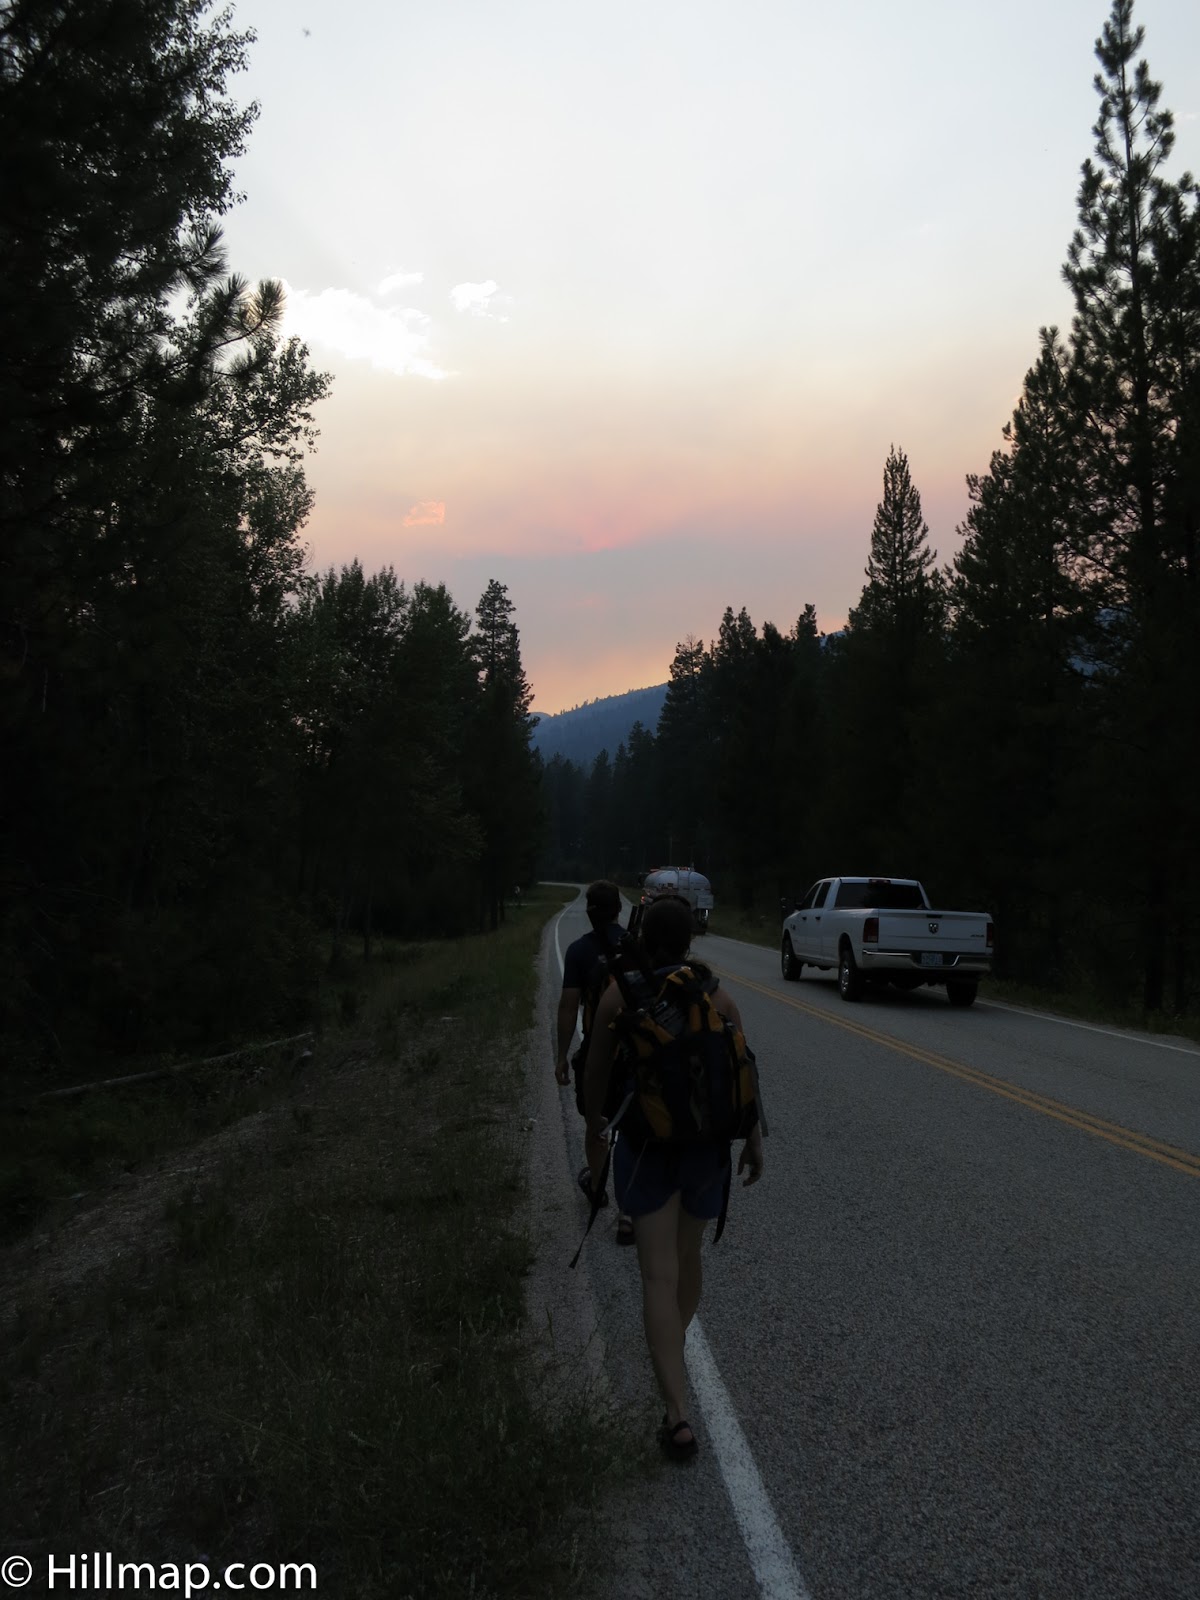
We set out from our back door and hiked and waded for a couple of miles up river. The flow levels were quite low so we could walk on gravel bars and easily waded the river a couple of times.
We found a shady spot to inflate and set off.
The rafts did quite well and were still holding air at the end of the day despite dragging over numerous gravel bars and river rocks. They have large stable tubes and are quite balanced if you sit with your back to the large bulbous bow.
We were impressed enough with the rafts to decide to try a couple of more ambitious trips in the next couple of days ... stay tuned for the next trip report.
One of my main requirements of the packraft design I am working on is that it be quite easy to construct. Alpaka rafts use 10 sections of fabric rolled into cylinders and 21 seams in their tube design. Any seam adds work to a DIY project and this previous attempt to DIY this sort of design has shown that these many curved seams can be difficult to seal. Flat pieces of fabric with seams that are two dimensional enough to be sealed against a table top (as in the Supai design) are easier to deal with.
Knowing a bit of mathematics, I think it is possible to find a design that uses a small number of two dimensional seams to produce a nice three dimensional shape when inflated.
The problem with this sort of design is that curves change and often fold or krinkle as a shape is inflated. Klymit's yet-to-be-released Light Water Dingy, seen in the video above, uses scallops on the the bow and stern to mitigate this. These scallops aren't a great design in terms of how the boat moves thorough the water but allow for very simple construction. My approach is to construct the bow and stern as separate flat pieces that naturally pull into the correct 3d shape when inflated.
Inflated curves behave similarly to these paper models.
I've calculated that the degree to which circles (and some other conic sections) tighten through inflation can be approximated by assuming the surface of the inflated tube is a cone. I also discovered a wonderful superlight fly fishing tube build in which the author arrived at a similar result by experimenting using models made from Glad Press'n Seal Food Wrap.
(He also had better luck with his testing of heat sealable nylon which has convinced me to evaluate some of the more expensive non-military surplus stuff from Seattle Fabric...more on that in another post but initial results are good.)
Raft model inflated above the pattern used to produce it. Non diabetics will have to find something other than an insulin syring to use as a valve.
Press'n Seal is a bit of a pain to work with but my first raft model shown in the photos on this page validated my calculations. I was able to come up with a design that uses four pieces of material and 8 seams to produce a nice tapered packraft-like shape with smooth circular bow and stern curves.
Working design and pattern of the "Minima" packraft.
My sketches are still a bit rough but a larger version of the design I built would make a nice ultralight boat for alpine lakes and other flat water. If anyone wants to build it I can provide you with specifics.
I would like a boat that is a bit more capable and includes a raised bow and enlarged stern. The raised bow can be achieved by curving the bow seams in the pattern a bit. One might be able to achieve a better stern shape by using elipses, or other conic sections. The stern section is, however, already at the limit of what can be cut out of one 58-60" wide piece of fabric so a longer stern will require the introduction of at least one more seam. I plan to split the stern piece on the center line of the boat which will allow a nice pointed stern and more efficient layout of the pattern on fabric.
This first design would require almost 6.5 yards of 58-60" fabric as the curved pieces do not fit together efficiently
I'll do a write up on the next iteration of the design as I figure out the details.
My working name for this first, simple design is the "Minima"which is mathematician for the point at which a minimum is achieved and also sounds like a small fish.
The more capable design I am working on will be called the "Extrema" which is a term that can mean a point that achieves either a minimum or a maximum and sounds like something that comes out of a stream.
The model is pretty leaky and I got quite red faced keeping it inflated for photos.
This post is part of a series you can see all the posts under the Homemade Packraft Tag.


 we decided to seek out some whitewater up the West Fork. The river was quite low but we found some stretches with lots of rocks and small waves (maybe rocky class II). We spent an afternoon up there yo-yo'ing a stretch of white water near one of the put-ins and a couple days later (after a few minor repairs) did a (car shuttled) 12+ mile day trip including lots of rocks, gravel bars and numerous snags.


 . The tubes could actually stand to be a bit smaller to allow for easier paddling and I'd consider buying the smaller Intex Explorer 100
 next time.

 . Eventually, a few miles into the third day the floors of both of our rafts succumbed to the numerous rocks (and one mandatory log) we'd slid over. The handling of the raft certainly decreased with the floor deflated. For the next trip I plan on using a sleeping pad inside of the now non-inflatable floor.


).
for my blood sugar meter and camera.




 .


